
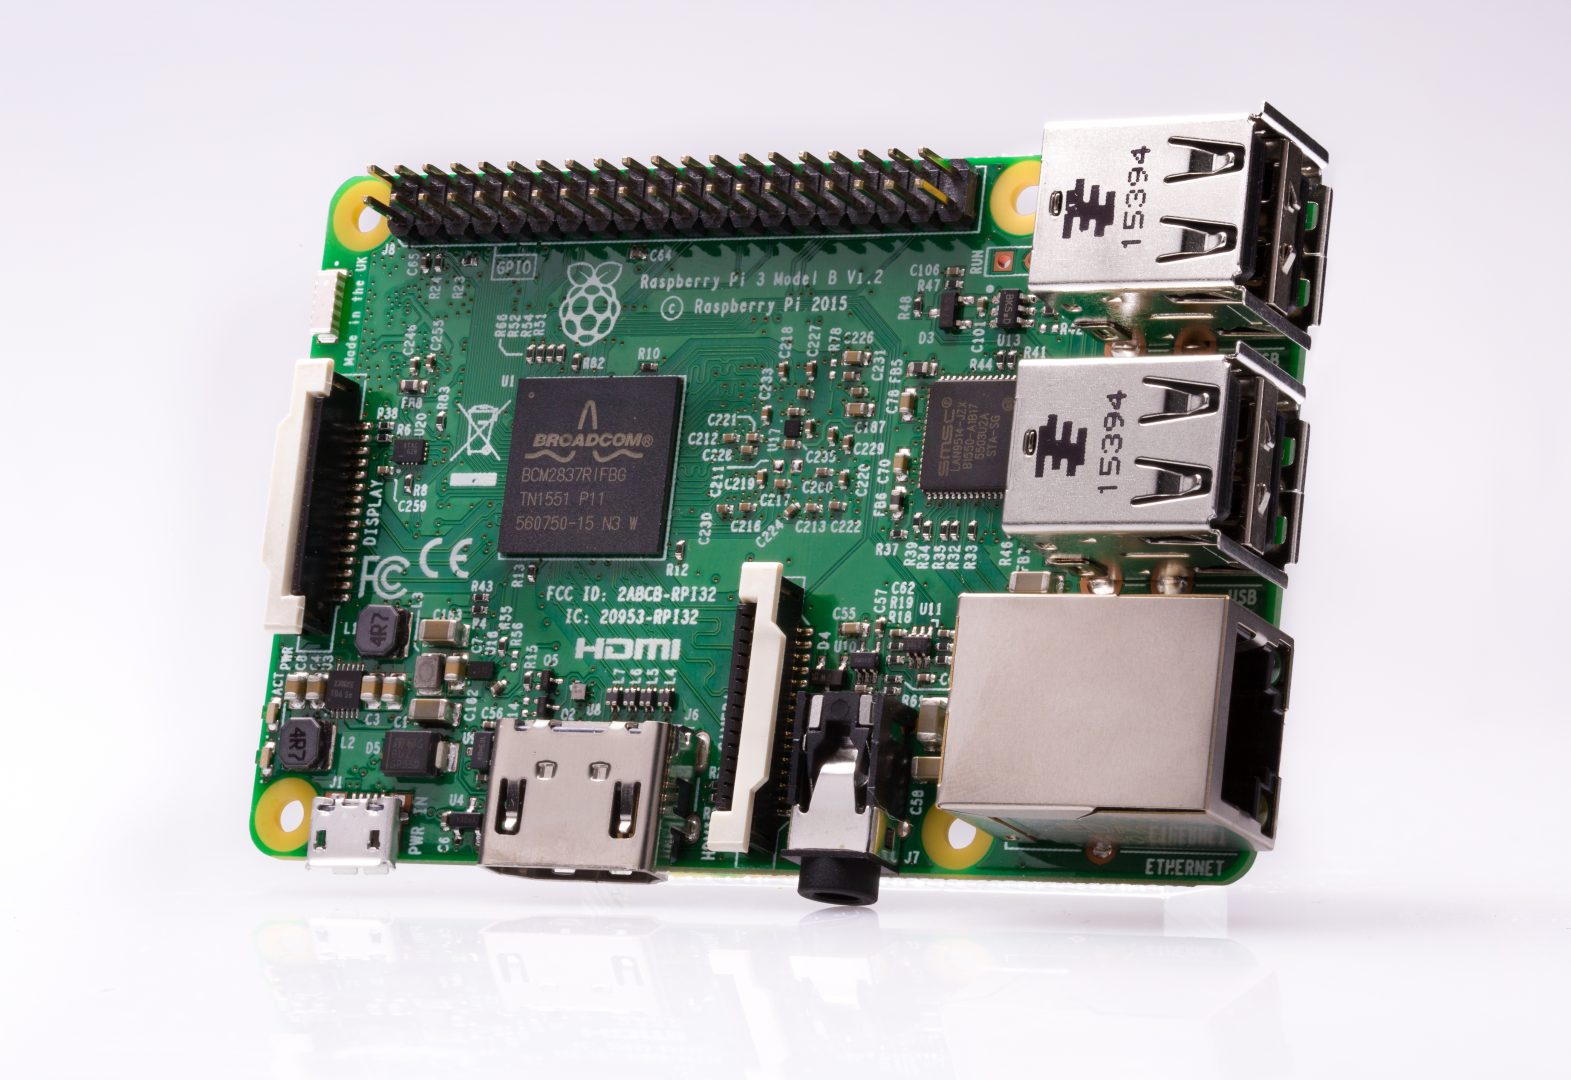
Today, we want to share our first screencast using Asciinema with you. The screencast is recorded on a per-character-basis directly from the Windows terminal. This allows you to copy'n'paste commands and output as needed, saves bandwidth and looks sharp and pretty.
Part 1: Setup a Raspberry Pi 3 from scratch #
We assume you have bought a new Raspberry Pi 3 together with a Micro USB power supply (at last 2.1A), a Micro SD card, and an SD card reader connected to an updated Windows 10 installation. Watch the screencast (explanations follow in the next section):
Note: this screencast still shows the old NOOBS-based installer. NOOBS has since been discontinued in favor of Raspberry Pi Imager; the written steps below reflect the current Imager-based process instead.
Details and explanations #
-
Download and install Raspberry Pi Imager on your Windows PC, then launch it.
-
In the Device tab, select your Raspberry Pi model. In the OS tab, choose Raspberry Pi OS (the successor to Raspbian). In the Storage tab, select your Micro SD card.
-
Open the Customisation tab to preconfigure the Pi before writing:
- User subtab: set a custom username and password — Raspberry Pi OS no longer ships a default pi/raspberry account, so these become your login credentials.
- Hostname subtab: optionally change the hostname (defaults to raspberrypi).
- Remote Access subtab: enable SSH, authenticating either with the password from the User subtab or your own SSH public key.
-
Select Write, confirm that the card will be erased, and wait for Imager to write and verify the image. This replaces the old "unzip NOOBS to the card" step — the OS is already fully installed once Imager finishes, so there's no lengthy install step left to run on the Pi itself.
-
Remove the SD card, insert it into the Raspberry Pi, connect Ethernet and Power. The Pi boots straight into the OS you configured.
-
Make sure you have installed the Linux Subsystem for Windows to use SSH
- as an alternative, install PuTTY and use pscp instead of scp and putty instead of ssh.
-
The Raspberry Pi will become available under the hostname you configured (raspberrypi by default) on the network, using the username and password you set in Imager.
Setup and test HALCON 13 on a Raspberry Pi 3 with Raspbian #
Launch bash on the Linux Subsystem for Windows by typing bash in the Windows Start Menu (will match Bash On Ubuntu on Windows). Then:
Details and explanations #
-
Copy HALCON (Linux) to your newly setup Raspberry Pi:
scp halcon-13.0.1.1-linux.tar.gz pi@raspberrypi:/tmp-
As this is your first connection to the Raspberry Pi, type yes to add raspberrypi to your list of known hosts.
-
Default user is: pi, Default password is: raspberry
-
-
SSH to
raspberrypi:ssh pi@raspberrypi -
Change default password for user pi:
passwd -
Unpack HALCON to /tmp/halcon:
cd /tmp mkdir halcon tar xvf halcon-13.0.1.1-linux.tar.gz -C halcon -
Install HALCON to /opt/halcon/halcon-13.0:
cd /tmp/halcon sudo ./install-linux.sh- During installation: Accept license, install to /opt/halcon/halcon-13.0, create target directory, choose Full (3) installation, install English documentation (1).
-
Remove temporary installation files:
rm -r /tmp/halcon halcon-13.0.1.1-linux.tar.gz /tmp/halcon -
Add a new command h13 to your .bashrc file. This allows to type h13 in the shell to setup your environment for HALCON 13.0:
-
Add this to your .bashrc
function h13 { . /opt/halcon/halcon-13.0/.profile_halcon } -
Try it:
bash
h13
-
-
Enable license mechanism
-
Copy your license obtained from MVTec from the host computer (Windows 10) to the Raspberry Pi:
scp license.dat pi@raspberrypi:/opt/halcon/halcon-13.0/license -
attach your HALCON USB dongle
-
make sure the dongle appears as USB HID device (WIBU-SYSTEMS AG CodeMeter):
dmesg | tail -n 10 -
copy udev rule for dongle and reload udev system:
sudo cp /opt/halcon/halcon-13.0/misc/linux/udev/rules.d/59-halcon-codemeter.rules /etc/udev/rules.d
sudo udevadm trigger
-
-
Run hbench and hbench -parallel. Example output:
pi@raspberrypi:~ $ hbench
HALCON 13.0.1 Benchmark (v13.0.1)
=================================
thread_num=1
(computing on images of size 1280x1024)

DATA_TYPE          reentrant
            time[ms]   value
byte ........  1.9e+03     0.7
int4 ........  860.563     0.7
float .......  2.4e+03     0.4
region ......  821.581     0.6
tuple .......   12.033     0.8

sum .........   6005.7     0.7
pi@raspberrypi:~ $ hbench -parallel HALCON 13.0.1 Benchmark (v13.0.1) ================================= thread_num=4 (computing on images of size 1280x1024) DATA_TYPE parallel (4) time[ms] value byte ........ 603.095 2.3 int4 ........ 242.844 2.5 float ....... 835.306 1.2 region ...... 241.375 2.2 tuple ....... 3.947 2.3 sum ......... 1926.6 2.1
Write a simple C++ program that uses HALCON 13 #
We will write, compile, and run a simple and very basic HALCON C++ program. For demonstration only, it counts
the number of pixels with gray values greater or equal 127 in the example image monkey.
Details and explanations #
-
Create a C++ program in
~/halcon/hellorpi/main.cpp// main.cpp #include <iostream> #include "halconcpp/HalconCpp.h" int main(int argc, char** argv) { (void)argc; (void)argv; HalconCpp::HImage image("monkey"); HalconCpp::HRegion region; HalconCpp::Threshold(image,®ion,127,255); // make sure to stream the tuple's integer value with .L() // otherwise, you would output the tuple in serialized format std::cout << "area: " << region.Area().L() << std::endl; return 0; } -
Compile with
g++ -g -o hellorpi -I${HALCONROOT}/include -L${HALCONROOT}/lib/${HALCONARCH} \ -lhalcon -lhalconcpp -Wl,-pthread -lm -ldl main.cpp -
Execute:
pi@raspberrypi:~/halcon/hellorpi $ ./hellorpi
area: 140422
Setup a Raspberry Pi Camera Module v2 for usage with Video4Linux2 #
TODO We will write, compile, and run a simple and very basic HALCON C++ program. For demonstration only, it counts
the number of pixels with gray values greater or equal 127 in the example image monkey.
Details and explanations #
-
Enable camera
sudo raspi-config-
In the graphical interface, go to
5 Interfacing OptionsthenP1 Cameraand then answer the questionWould you like the camera interface to be enabled?withYes. -
Reboot
-
Check if camera is available:
vcgencmd get_cameraThe output should be like
supported=1 detected=1 -
Another test is to try to grab an image file:
raspistill -w 2592 -h 1944 -o test.jpgIf everything works, the command should return without any message.
-
-
Install V4L module
-
Try loading the module with
sudo modprobe bcm2835-v4l2 -
If
modprobereturns without errors, add the module permanently. At the end of file/etc/modulesadd the entry:# camera driver for v4l2 bcm2835-v4l2 -
Reboot
-
Execute HDevEngine script to process live images from the camera #
HALCON 13.0 for armv7a-linux comes with a handy example program called hrun. We will compile it and execute a HDevEngine script to decode a ECC200 data code:
Details and explanations #
-
Create a directory and copy the example program to it:
mkdir ~/halcon/hrun cd ~/halcon/hrun cp -rp /opt/halcon/halcon-13.0/examples/armv7a-linux . -
as we will compile directly on the Raspberry Pi 3 (in contrast to cross-compiling), we have to set the environment variable
NATIVEtoyes:export NATIVE=yesAttention: The HALCON document HALCON for Arm-based Platforms says you have to set it to
YES. This is wrong, you have to use the lowercase writingyes. -
Build
hrunmake -
Execute
hrun/bin/armv7a-linux/hrunThis will show the command line help for
hrun. -
HALCON comes with the example script
datacode.hdevto decode a ECC200 data code. It should output the decoded string together with the live images in a window, but the text output does not seem to work. Therefore, we will patchdatacode.hdevto-
use live video images. Open datacode.hdev and change
UseLiveImagesfrom0to1:<l>UseLiveImages := 1</l> -
output the decoded string to the console (stdout). As one of the first script lines add
<l>open_file ('standard', 'output', STDOUT)</l>
and add after the existing disp_message script line:
<l>fwrite_string (STDOUT, DecodedDataStrings + '\n')</l> -
-
Execute
hrunwithdatacode.hdevIf you are using a remote connection to the Raspberry Pi, make sure you have a SSH connection that supports X-Forwarding (
ssh -X pi@raspberrypi) to open the live video image on your development machine. Then execute:./bin/armv7a-linux/hrun datacode.hdevIf you hold a ECC200 data code in front of the camera, it should be decoded and output to the console.
Questions? #
If you have any questions regarding this topic or and other HALCON related questions please do not hesitate to contact us.